Chapter 1 - 2
HTMLでwebページ作ってブラウザで表示する
目標
- HTMLを用いてwebページを作成できる
- 書いたページをブラウザで表示できる
HTMLとは
webページの構造をつくるマークアップ言語です。
準備
- エクスプローラーを開き、ドキュメントフォルダを開きます。

- 新しいフォルダを作成します。
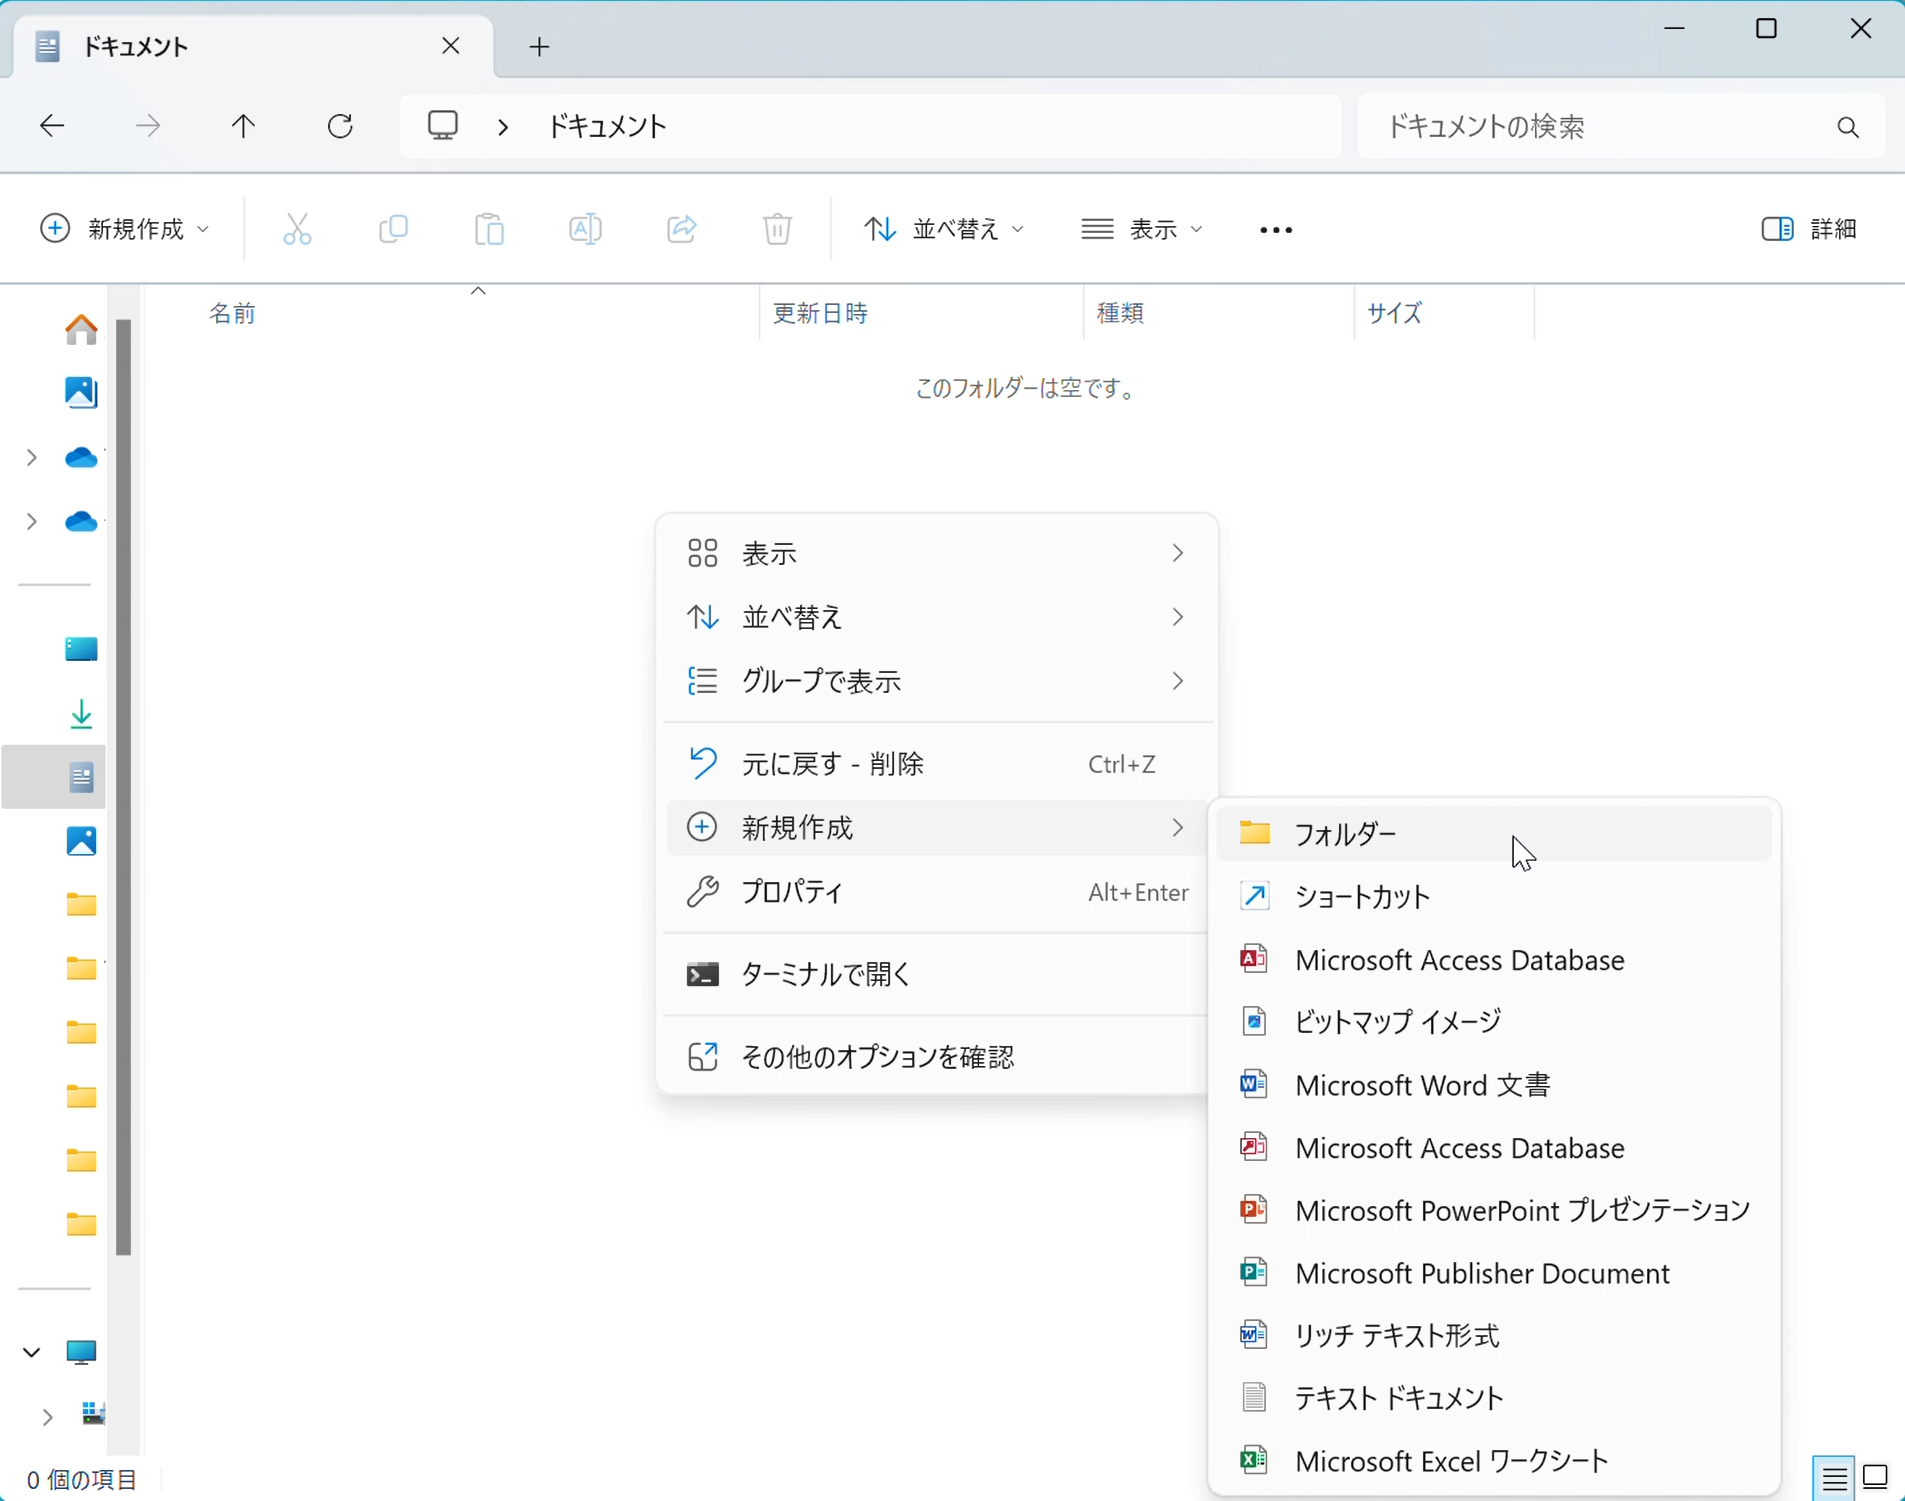
webに名前を変更します。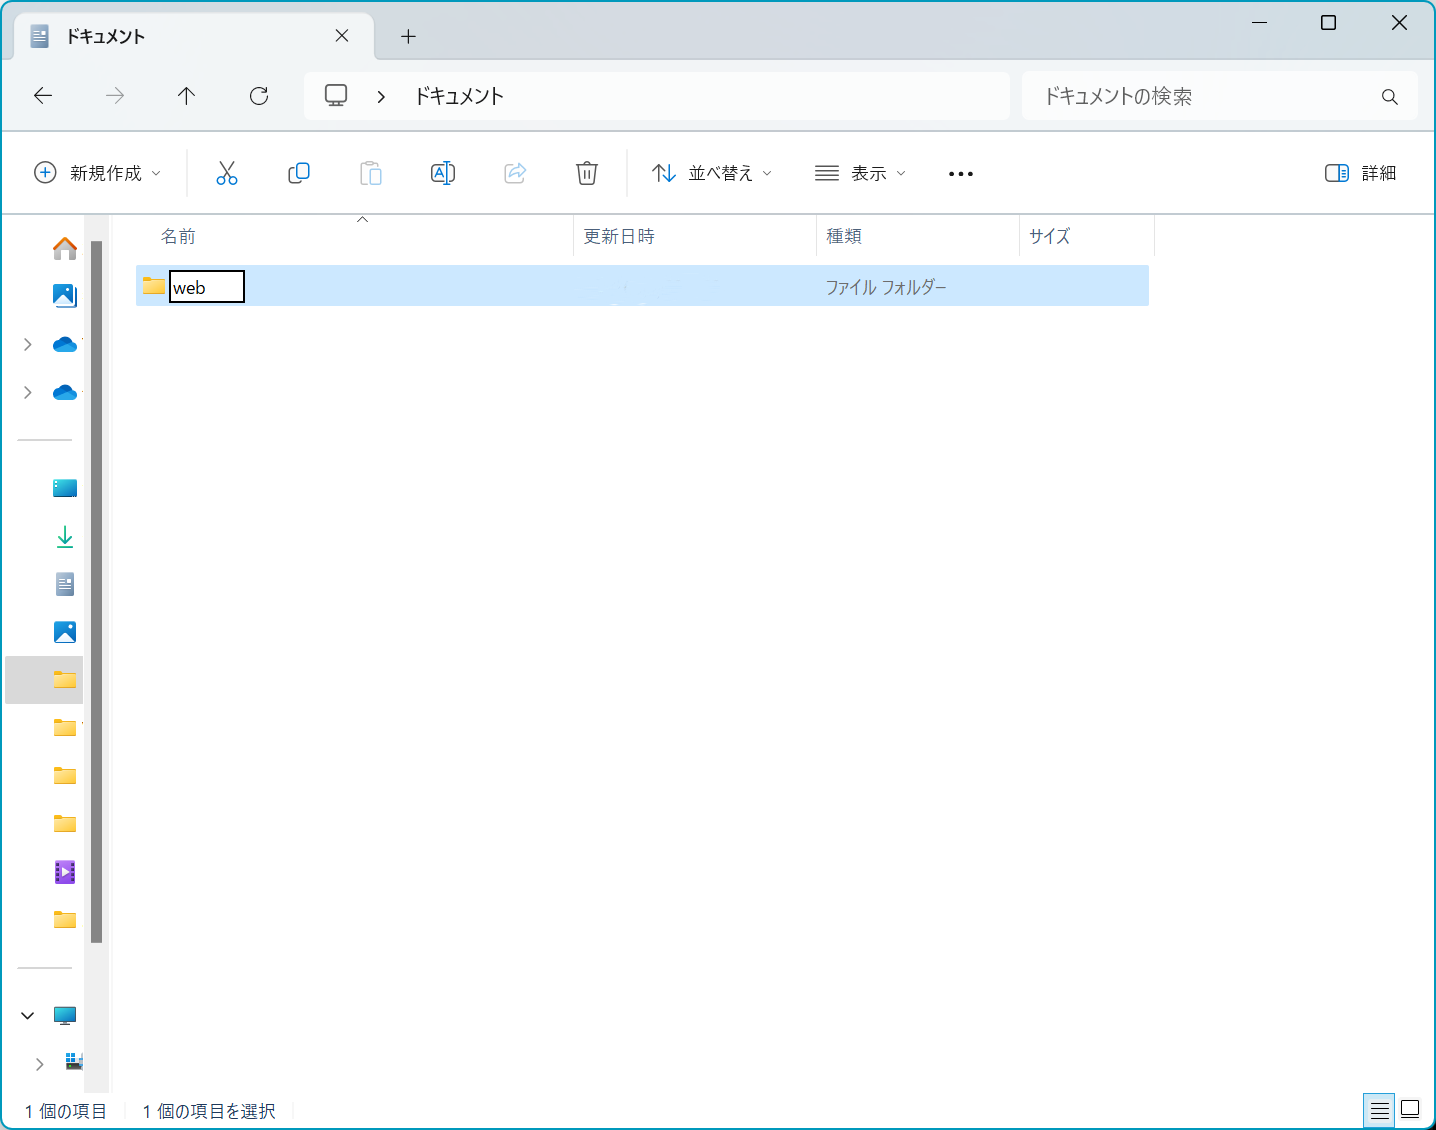
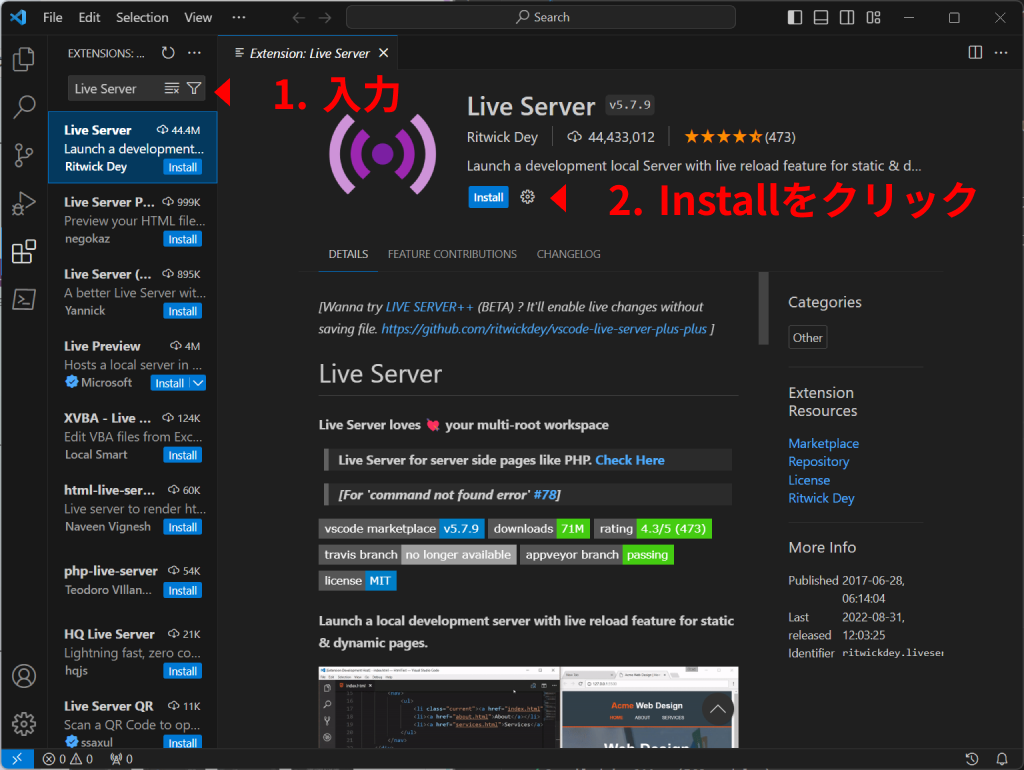
- VSCodeを立ち上げ、左上のファイルアイコンをクリックします。
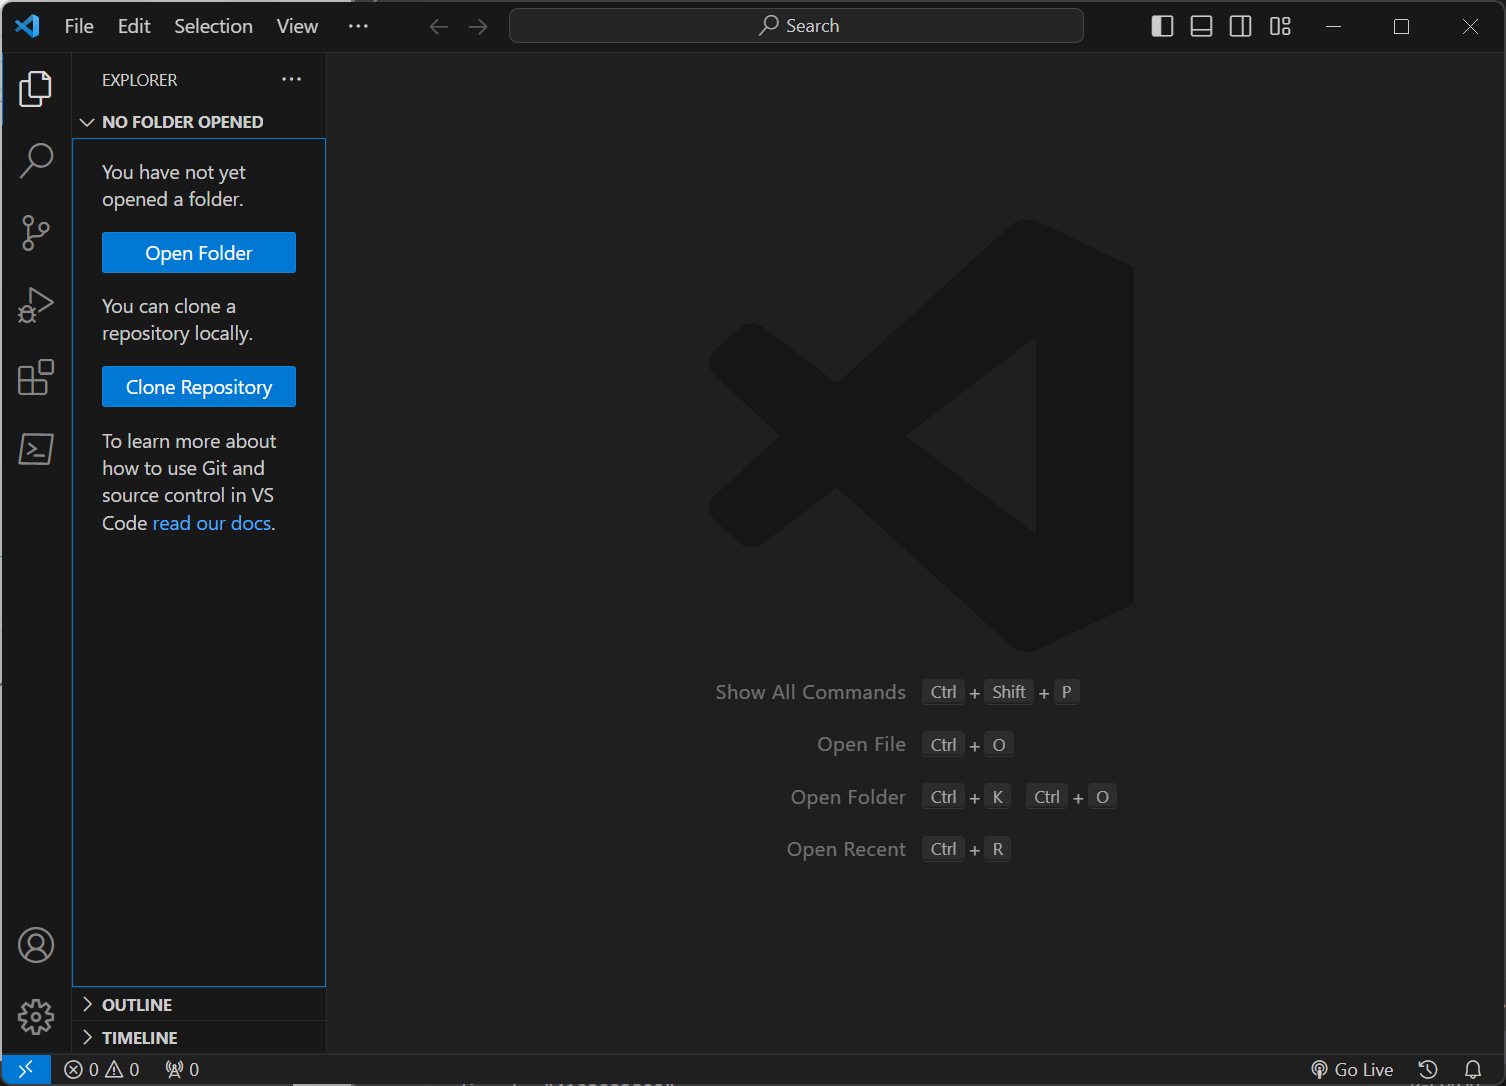
Open Folderをクリックします。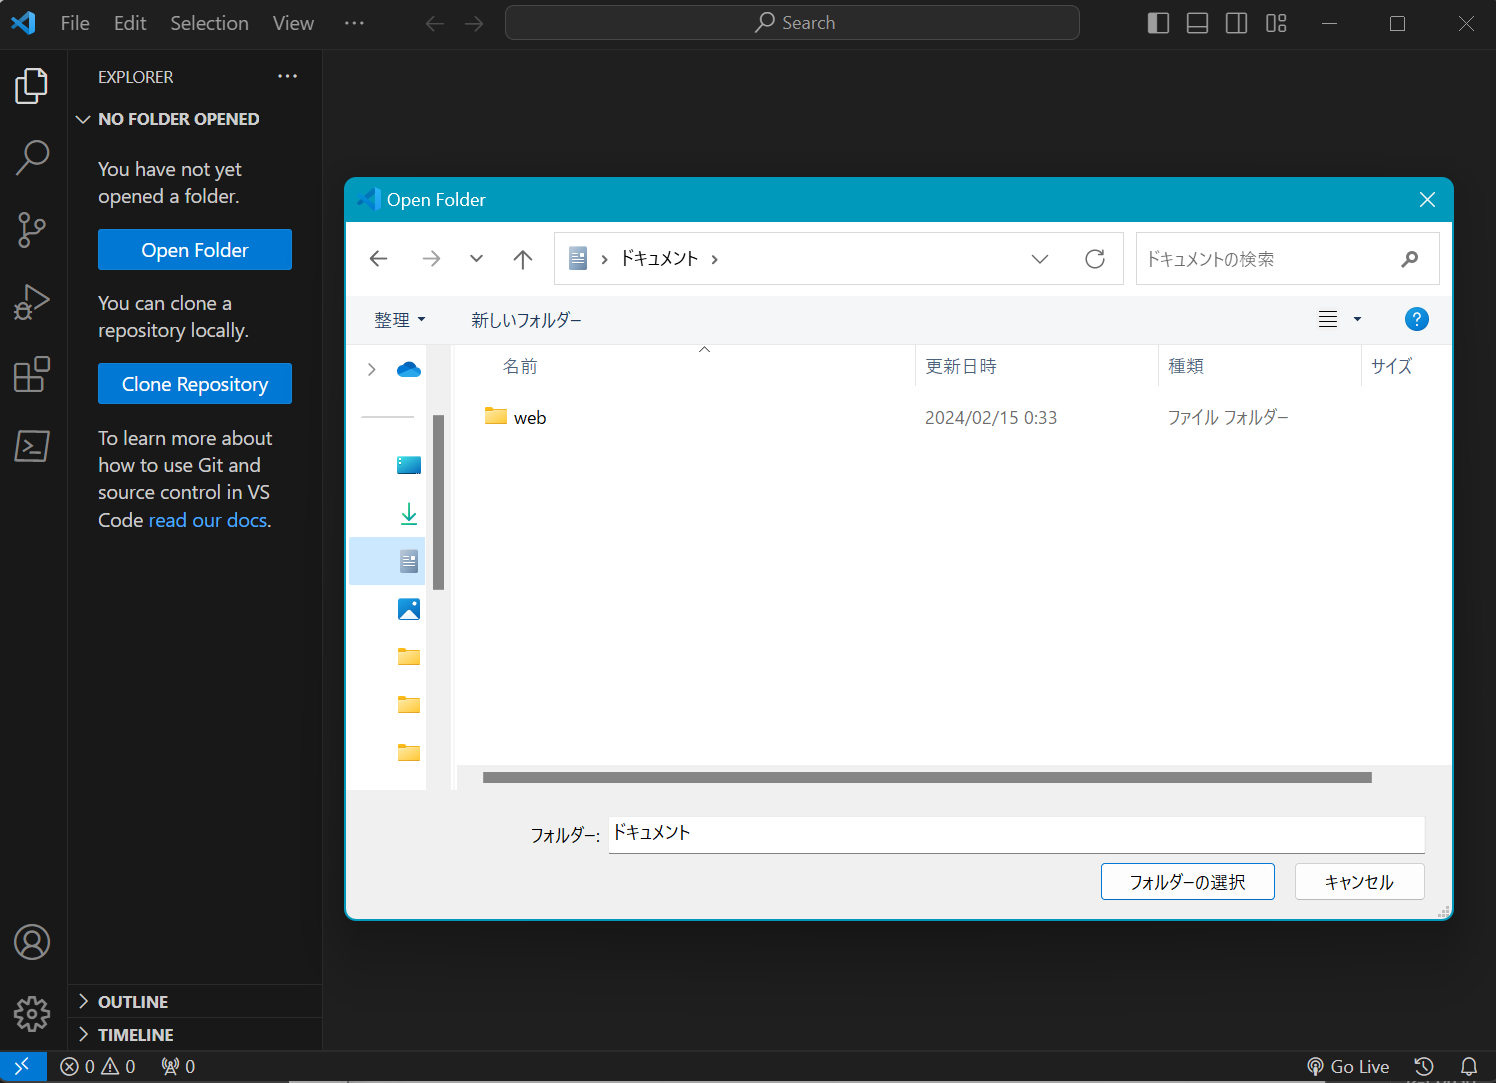
- 先ほど作成した
webフォルダを開きます。
- フォルダ名の横の
New Fileをクリックし、新たなファイルを作成します。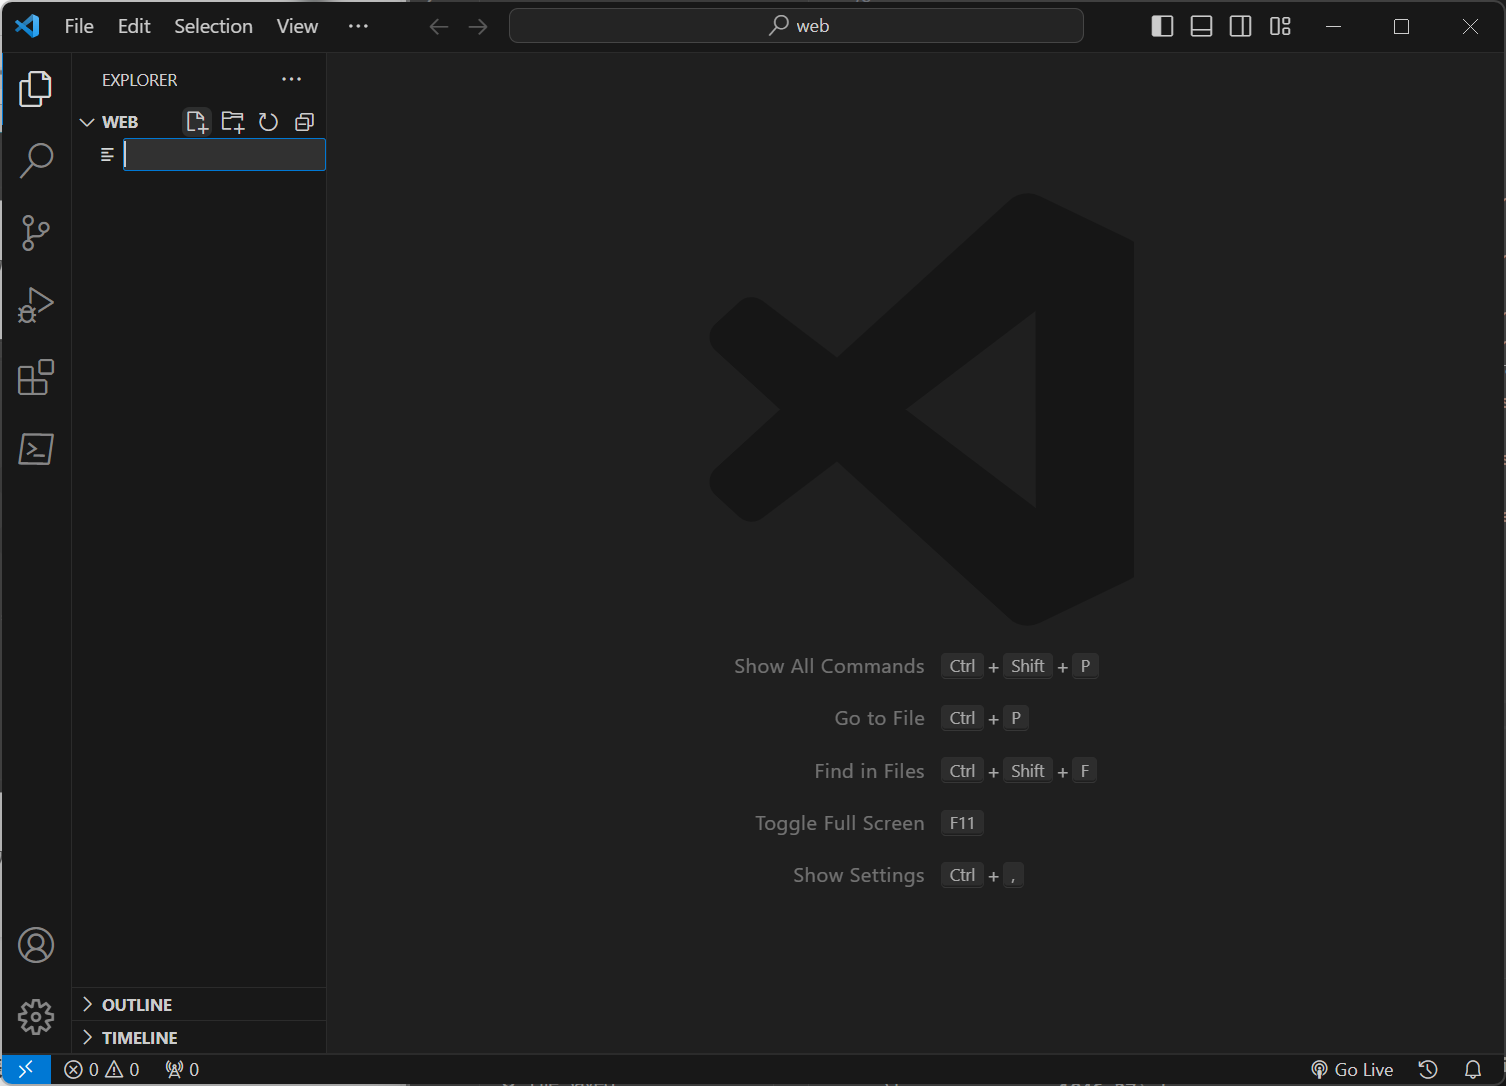
index.htmlと名前を入力し、enterを押します。
これでhtmlファイルの作成が完了しました!
HTMLを書いてみる
ブラウザ上にHello World!を表示する
- 先ほど作成した
index.htmlにHello World!と入力します。Hello World!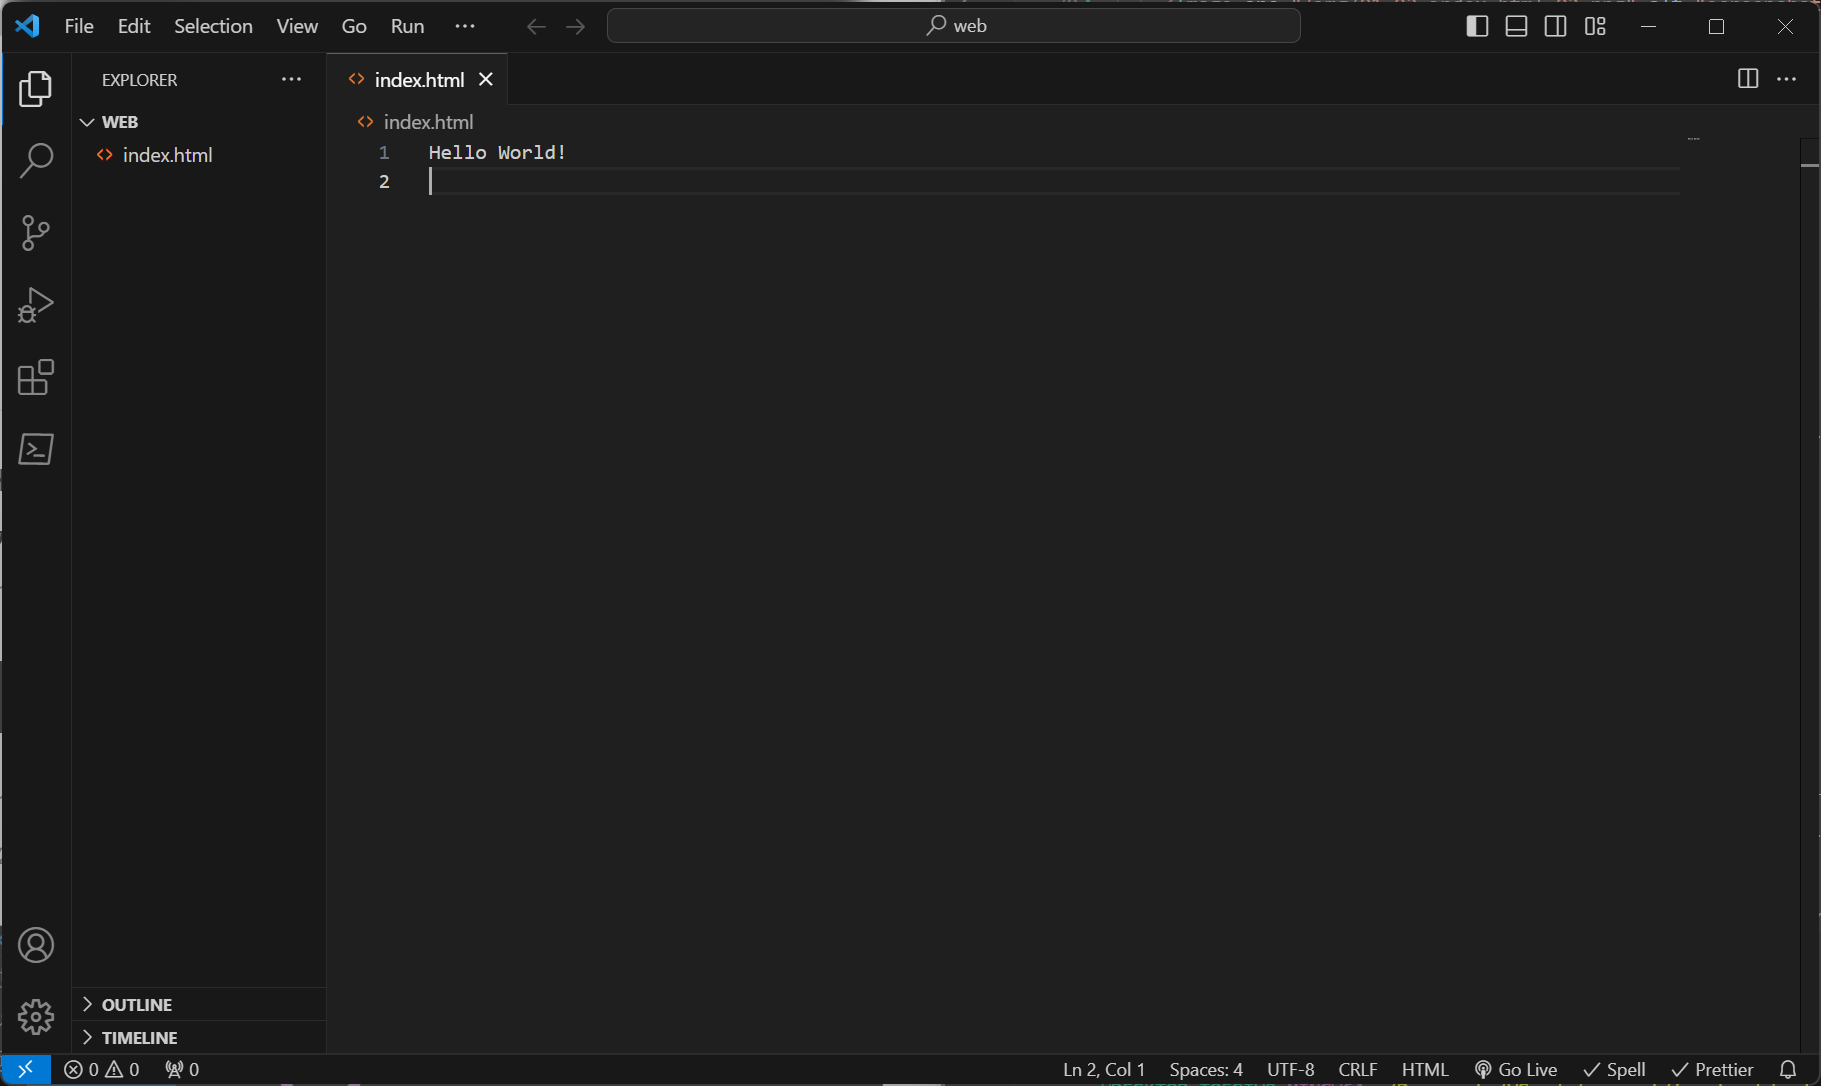
Ctrl + Sを押して変更を保存します。- ブラウザを開きます。
index.htmlのファイルをブラウザ上にドラック&ドロップします。- 以下のように表示されれば成功です。(画像はedgeで開いたもの)
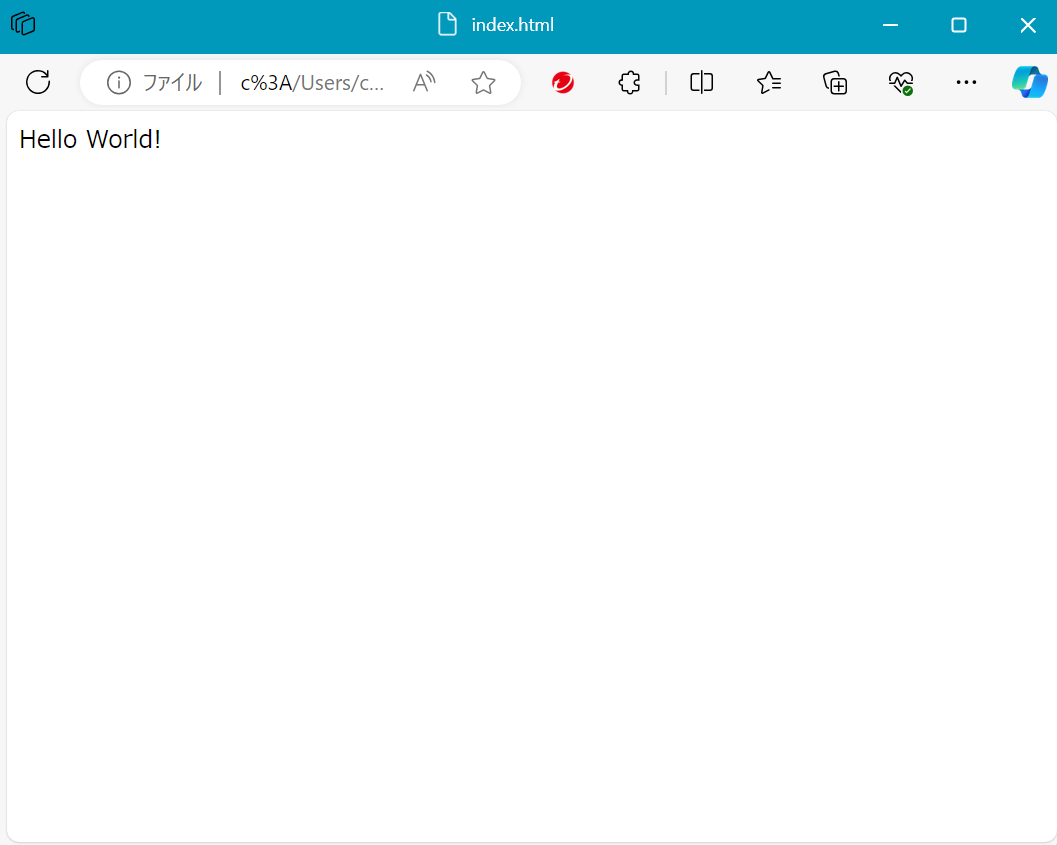
正しく表示されたのを確認したら、Hello World!の文字は削除しておきましょう。
HTMLでwebページを書いてみる
今回はカフェのサンプルサイトのHTMLを書いてみます。
実際のデモページはこちら
ここではHTMLだけを書くため、最終的に以下のような画面になったら完了です。
サイト内で使う画像をリンクをクリックしてダウンロードしてください。
ダウンロードが完了したら、VSCodeでwebフォルダにドラック&ドロップでコピーしましょう。
htmlであることを示す
htmlファイルの1行目には必ずhtmlであることを宣言する<!doctype html>を記述します。
その下にどこからどこまでがhtmlで書かれているかわかるようにhtmlタグを追加します。
htmlタグでは表示言語をlang="--"で示します。
英語は"en"、日本語は"ja"です。
<!doctype html>
<html lang="en"></html>
headタグを追加する
htmlタグの中に内容を書いていきます。
始めにwebサイトの基本情報を書くhaedタグを追加します。
<!doctype html>
<html lang="en">
  <head>
    <meta charset="utf-8" />
    <meta name="viewport" content="width=device-width" />
    <title>Hoge Coffee</title>
  </head>
</html><head>: ---<mata>: ---charset: ---name: ---content: ---
<title>: webサイトのタイトルを書く。
bodyタグを追加
headタグの下にbodyタグを追加します。
bodyタグの中にコンテンツを書いていきます。
<!doctype html>
<html lang="en">
  <head>
    <meta charset="utf-8" />
    <meta name="viewport" content="width=device-width" />
    <title>Hoge Coffee</title>
  </head>
  <body>
    <main></main>
    <footer></footer>
  </body>
</html><body>: サイトに表示される情報を書く。<main>: 中にサイトのメインコンテンツを書く。<footer>: 中にサイトのフッター情報を書く。
サイトのトップページを追加する
mainタグの上にh1タグでトップページの文字を追加します。
<body>
  <h1>Hoge Coffee</h1>
  <main></main>
  <footer></footer>
</body><h1>: 見出しとして表示したい部分に使う。
サイトの説明を追加する
mainタグの中にpタグとaタグを追加します。
<body>
  <h1>Hoge Coffee</h1>
  <main>
    <p>
      This page is the sample of
      <a href="https://frontend-book.kanaru.jp">Frontend Book</a>
    </p>
  </main>
  <footer></footer>
</body><p>: 段落を示す。pタグと閉じタグの間に文字列を書く。<a>: リンクを表示させる。aタグと閉じタグの間にリンクにしたい文字を書く。href: 遷移先のurlを書く。
コンテンツの詳細を追加する
先ほどのpタグの下に、imgタグ、h2タグ、pタグを追加します。
<main>
<p>
This page is the sample of
<a href="https://frontend-book.kanaru.jp">Frontend Book</a>
</p>
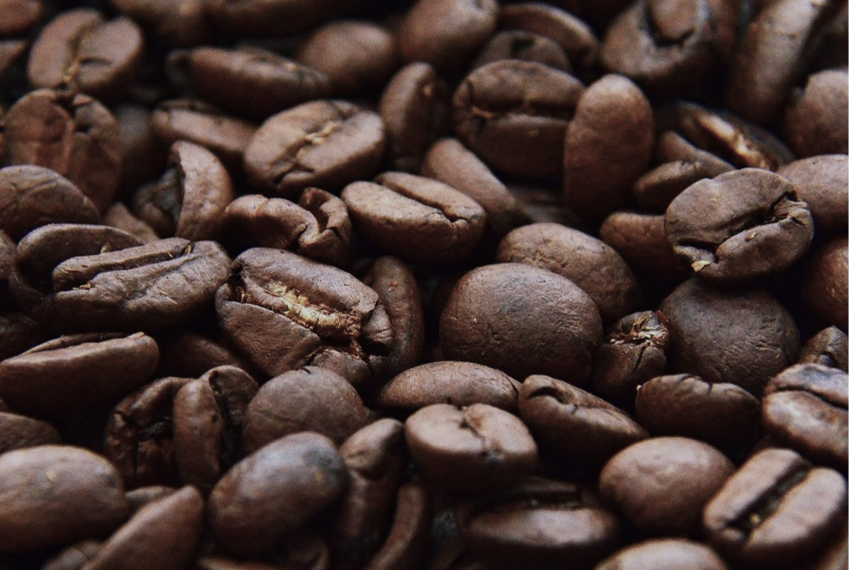
<img
src="./coffee-beans.png"
alt="Specialty Coffee Beans"
/>
<h2>Specialty Coffee Beans</h2>
<p>Naniyara sugoi kodawarino mame</p>
</main><img>: 画像を表示させる。src: 表示させる画像ファイルを指定する。alt: 画像の説明を書く。リンク切れなどで画像が表示できないときに表示される。
<h2>: 見出しとして表示したい部分に使う。h1よりもレベルが低い。
コンテンツの詳細をもう一つ追加する
同じようなものを内容を変更してもう1つ追加します。
<main>
<p>
This page is the sample of
<a href="https://frontend-book.kanaru.jp">Frontend Book</a>
</p>
<img
src="./coffee-beans.png"
alt="Specialty Coffee Beans"
/>
<h2>Specialty Coffee Beans</h2>
<p>Naniyara sugoi kodawarino mame</p>
<h2>Great Cafe Interior</h2>
<p>Dokoka no kuni no youna naisou</p>
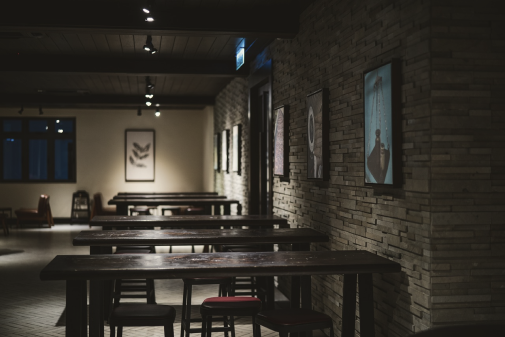
<img
src="./cafe-interior.png"
alt="Great Cafe Interior"
/>
</main>フッターに内容を追加する
bodyタグ内のfooterタグに内容を追加します。
<img
src="./cafe-interior.png"
alt="Great Cafe Interior"
/>
</main>
<footer>© 2024 Frontend Book</footer>
</body>©: コピーライトを表示する。
今回のコード
今回の全体のコードは以下になります。
<!doctype html>
<html lang="en">
<head>
<meta charset="utf-8" />
<meta name="viewport" content="width=device-width" />
<title>Hoge Coffee</title>
</head>
<body>
<div class="top-page">
<h1>Hoge Coffee</h1>
</div>
<main>
<p class="about">
This page is the sample of
<a href="https://frontend-book.kanaru.jp">Frontend Book</a>
</p>
<div>
<div class="contents-box">
<img
class="content"
src="./coffee-beans.png"
alt="Specialty Coffee Beans"
/>
<div class="content">
<h2>Specialty Coffee Beans</h2>
<p>Naniyara sugoi kodawarino mame</p>
</div>
</div>
<div class="contents-box">
<div class="content">
<h2>Great Cafe Interior</h2>
<p>Dokoka no kuni no youna naisou</p>
</div>
<img
class="content"
src="./cafe-interior.png"
alt="Great Cafe Interior"
/>
</div>
</div>
</main>
<footer>© 2024 Frontend Book</footer>
</body>
</html>その他のタグ紹介
<span>: 文中の一部分のみに別なスタイルをあてたいときに使う。<ul>: 箇条書きのリストをつくるときに使う。<ol>: 順序付きのリストをつくるときに使う。<li>:<ul>、<ol>の中の要素で使う。<button>: ボタンを作成するときに使う。<input>: ユーザーからテキストなどを入力してもらうテキストボックスをつくるときに使う。<textarea>: 複数行入力用のテキストボックスをつくるときに使う。<video>: 映像を埋め込むときに使う。<audio>: 音声を埋め込むときに使う。
参考サイト:mdn wed docs
ここまでに学んだ技術
- HTML